Simple Science Experiments for Kids
Looking for some simple science experiments for kids to do in your own home? A great way supplement to any homeschool science curriculum and a certain way to introduce science concepts and inspire curiosity is through fun science experiments.
Here are a heap of cool science experiments for kids. These simple science experiments below are written by Aurora Lipper from Supercharged Science. They are filled with great detailed explanations and are free to print off and use with your kids.
- Volcano Science Projects - fun science experiment ideas using chemical reactions and air pressure. Included here are instructions for volcano dough to make soda volcanoes, sulfur volcanoes. The standard dough recipe for this experiment is: 6 cups flour, 2 cups salt, ½ cup
vegetable oil, and 2 cups of warm water. The resulting mixture should be
firm but smooth. An earthy dough mix is: 2 ½ cups
flour, 2 ½ dirt, 1 cup sand, 1 ½ cups
salt and water. You mix all the dry
ingredients together and then add
water by the cup until the mixture
sticks together.
- Top 10 Air Pressure Experiments - 10 easy science experiments for kids to illustrate air pressure. When you change a pocket of air pressure, things start to move as higher pressure always pushes things around. This difference in pressure that causes movement is what creates winds, tornadoes, airplanes to fly, and some of the experiments that are included in this booklet: magic water glass trick, plumber magic, magic egg trick (kids love this one!), fountain bottle, ping pong funnel, squished soda can, the million dollar bet, flying paper and kissing balloons.
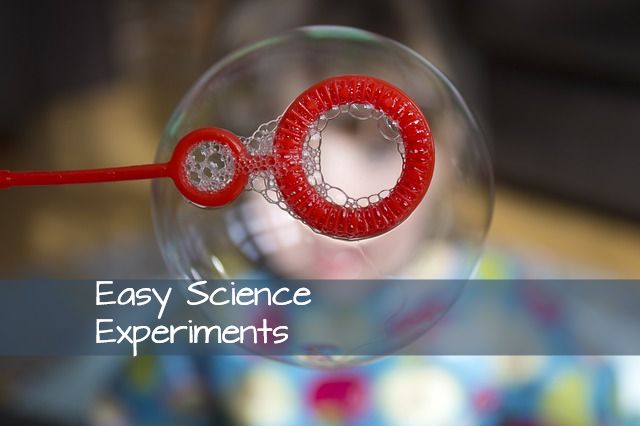
- Cool Bubble Experiments - from tiny to gigantic bubbles! See the bubble experiments here.
- Making Crystals Experiments - Crystals are formed with atoms line up in patterns and solidify. There are crystals everywhere – and these easy crystal experiments use simple ingredients you have at home such as salt and sugar. Your crystals will grow when you add something for the crystals to cling to and that's the type of things you will do in these crystal experiments. Create egg geodes, string crystals, rock candy, jelly crystals and salt stalactites.
- 9 Fun Laser Experiments to do with your kids at home. Keychain lasers from the dollar store work just fine with these projects, but do not use the green lasers sold in astronomy stores – they are too dangerous for the eyes. Experiments include: plastic bottle beam, light bulb laser, CDs, glass and crystal experiments
- 9 Light Experiments - simple science experiments for kids involving mixing color (light, not paint), creating a spectometer, making a pinhole camera from a cardboard box, water prisms and more.
- Roller Coaster Physics - The reason why things bounce, fly, zoom, and splat are described by
the Laws of Physical Motion most kids learn in their high school physics
class. The experiments here from Supercharged Science help to explain the first law of motion, gravitational force and acceleration. Some super cool science experiments to illustrate the laws of physics - bucket splash, marble vortex, ping pong curves, roller coaster physics with marbles and foam pipe insulation and a few rolls of masking tape.
- Simple Machine Experiments - all about pulleys and levers, second class levers, third class levers, block and tackle, pulley systems. Easy science experiments at home using wood, nails, popsticks, bottle caps, broom handles etc.
- Cool Science Experiments with Slime - this page includes information on how to make bouncy putty slime (bouncy slime recipe included) mucus slime, starch slime, sewer sneeze slime, corny slime, squishy slime! All the slime recipes are included.
Click here to download the full PDF of easy science experiments from Supercharged Science.
The steps in the scientific method and questions to ask:
By incorporating simple science experiments, you are not only increasing interest and a whole lot of fun, but also encouraging a questioning and curious mind.
The 6 steps of the scientific method can be written as:
- Ask a Question,
- Research,
- Create a hypothesis,
- Experiment,
- Analyse the data,
- Record your conclusion,
Using this as a basis, here are some questions which you can ask as you enjoy these fun science experiments:
Before the experiment:
- What is the purpose or question you want to answer?
- Research this to gain a better understanding. What have you learned?
- What do we need to do this experiment?
- What is the best way to set up?
- How can we make sure we are doing this safely?
- Propose a hypothesis. This is a statement used to predict the outcome of an experiment. Usually, a hypothesis is written in terms of cause and effect.
- Explain exactly what we are about to do.
- What do you think might happen?
- Why do you think this will happen?
- Are we ready to begin?
During the experiment:
- What is the first step?
- What do you think will happen when we...
- Why did 'that' happen?
- Did this surprise you?
After the experiment:
- What happened?
- Record the results of what happened.
- Why do you think this happened?
- Were you surprised at the outcome? Did it match your hypothesis?
- How can you report the experiment and what you've learned?
- What do you think we could do differently in this experiment? What aspects can we change? If we did, how will the outcomes change, do you think?
- If you were to do it again, would you change anything?
Simple science experiments to do at home
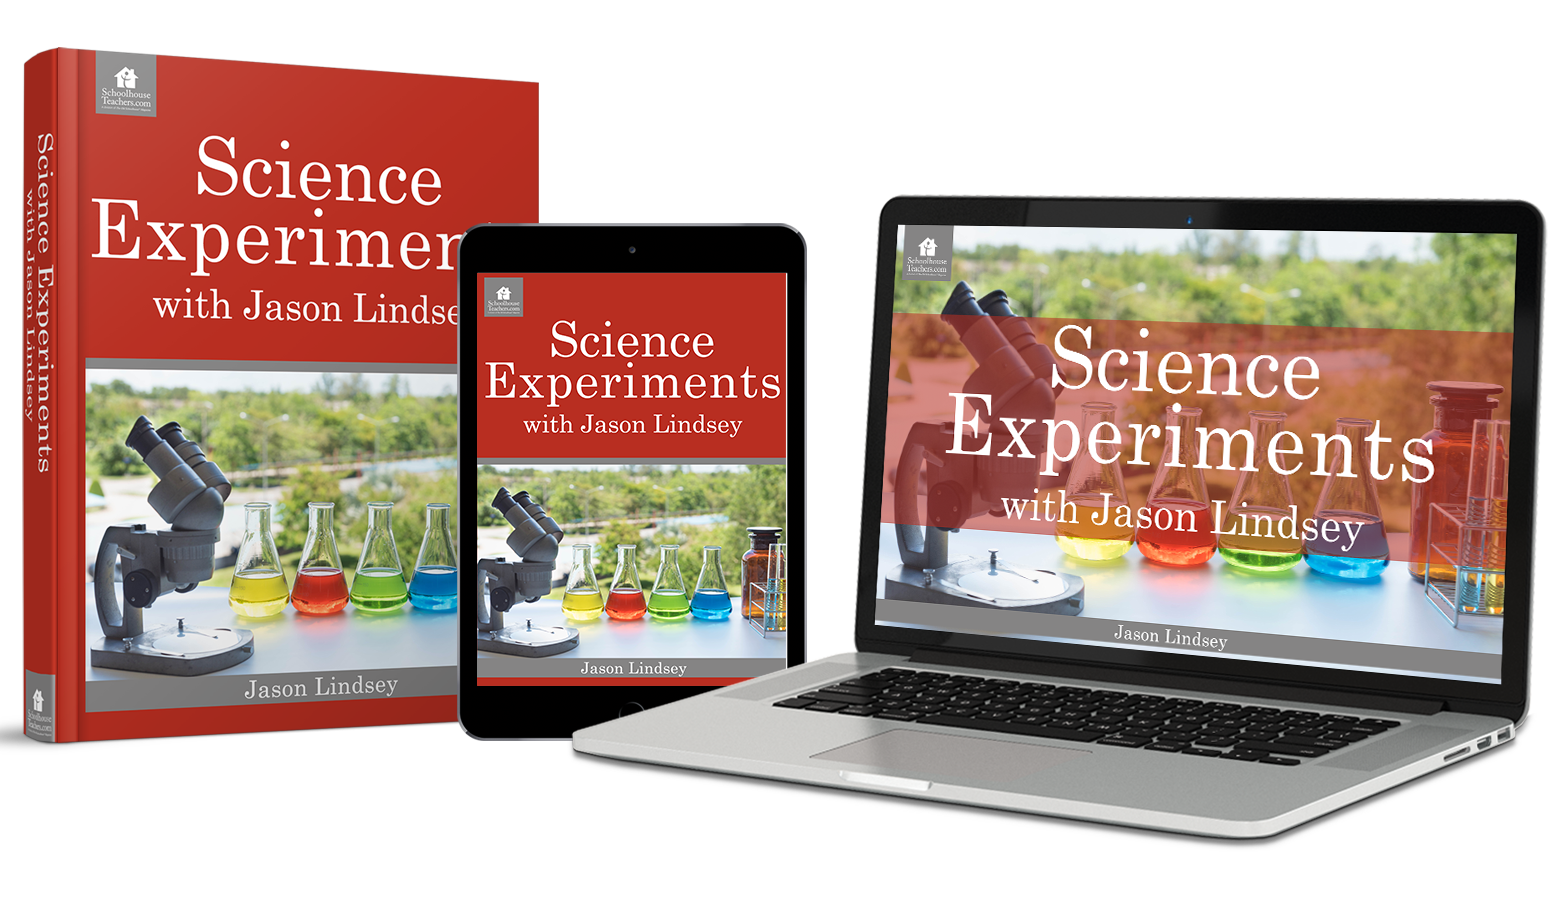
Jason Lindsey, from Hooked on Science is one of the authors on SchoolhouseTeachers.com. In this homeschool science course, he has 20 easy science experiments for kids to do at home. These simple science experiments are available in the "Science Experiments with Jason Lindsey" Course. Each science lesson plan is developed safely and kids can watch first by video and then complete the experiment at home.
Some of the fun, simple science experiments include:
- creating a noodle marble run
- levitating bubbles
- skewer a balloon
- making snow dough
- watching flowers change colour
- snow storm in a bottle - model of rainstorm in a glass
- egg geode
For more information about these easy science experiments for kids, see the SchoolhouseTeachers course page here :"Science Experiments with Jason Lindsey."
Please note if you purchase this course, you will also have access to many, many other homeschool science curriculum ideas for all of your kids! (A subscription includes classes for all subjects across K-12)
Science Kits for Kids
I am also a huge fan of science kits for kids as these kits come with easy science experiments for kids to do at home with full instructions and all the necessary equipment. They are an excellent supplement to any homeschool science curriculum and can often be used as a basis for creative science project ideas.
Where to from here?
- Supercharged Science
- Why Cool Science Experiments are important?
- Homeschool Science Bookshop - Find homeschool science resources here
- Home ›
- Home school Science ›
- Simple Science Experiments


Schoolhouse Teachers

Schoolhouse Teachers Art Courses


Some SchoolhouseTeachers Science Courses

